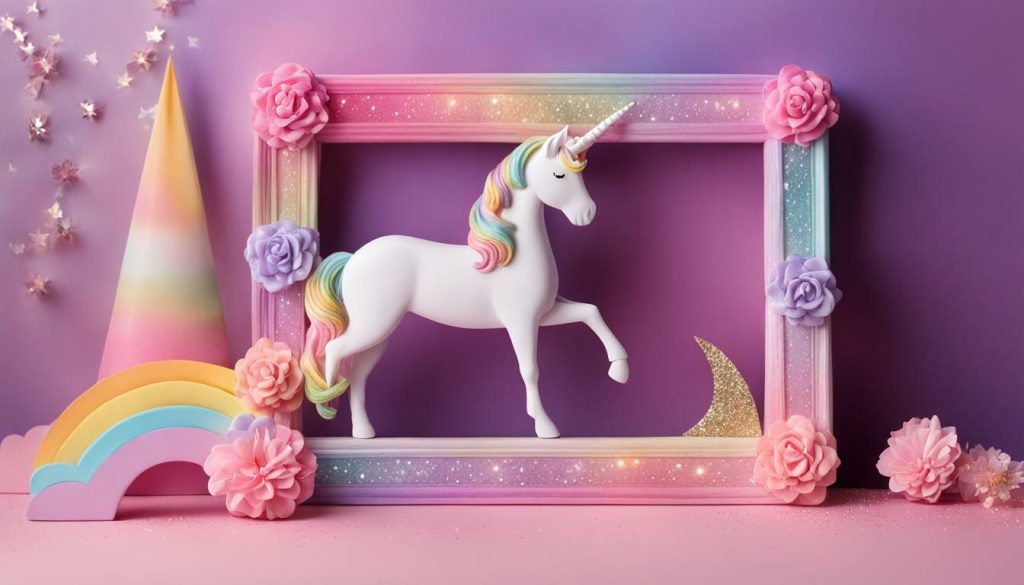
Are you ready to dive into a magical craft experience and create your own DIY unicorn picture frame? In this fun and easy guide, I’ll show you how to bring a touch of whimsy to your decor with this creative project. Whether you’re a unicorn enthusiast or just looking for a fun DIY activity, this unicorn picture frame is sure to add a touch of enchantment to any space.
To get started, gather the following supplies: a heart-shaped wooden frame, acrylic paint in your favorite colors, foam brushes, scissors, vinyl, a Cricut machine, transfer tape, and a photo you’d like to display in the frame. Now, let’s get crafting!
First, begin by painting the wooden frame in ombre colors using acrylic paint. This will create a beautiful gradient effect that will serve as the backdrop for your unicorn designs. Allow the paint to dry completely before moving on to the next step.
Next, it’s time to add the unicorn designs to your frame. Using a Cricut machine, cut out unicorn shapes from vinyl. The Cricut machine makes it easy to create intricate and detailed designs. Once you have your vinyl cutouts, use transfer tape to carefully transfer them onto the painted wooden frame. This step requires a bit of patience and precision, but the end result will be worth it!
Once the vinyl designs are securely adhered to the frame, it’s time to add the finishing touches. Gently insert your favorite photo into the frame, and voila! Your DIY unicorn picture frame is complete. This frame can be used as a birthday party favor, a unique gift, or simply as a fun and whimsical addition to your home decor.
Key Takeaways:
- Create a DIY unicorn picture frame using a heart-shaped wooden frame, acrylic paint, vinyl, and a Cricut machine.
- Paint the frame in ombre colors to create a gradient effect.
- Use a Cricut machine to cut out unicorn designs from vinyl.
- Transfer the vinyl designs onto the painted wooden frame using transfer tape.
- Insert a photo into the frame to complete your DIY unicorn picture frame.
Now that you have the step-by-step guide and key takeaways, it’s time to unleash your creativity and bring a little bit of magic into your home with your very own DIY unicorn picture frame. Happy crafting!
Unicorn Picture Frame Supplies and Preparation
Before we start creating our enchanting unicorn picture frame, let’s gather all the necessary supplies and make sure we’re prepared for this whimsical adventure. From homemade picture frames to unicorn-themed art projects, this DIY project has it all!
Here’s what you’ll need:
| Supplies | Description |
|---|---|
| Heart-shaped wooden frame | Provides the base for our unicorn picture frame |
| Acrylic paint | Allows us to add vibrant colors to the frame |
| Foam brushes | Helps with smooth and even application of the paint |
| Scissors | Used to cut the vinyl designs |
| Vinyl | Provides the unicorn designs for our frame |
| Cricut machine | Enables precise cutting of the vinyl designs |
| Transfer tape | Aids in transferring the vinyl designs onto the frame |
| Photo | Gives a personal touch to our unicorn picture frame |
With these supplies ready, we are all set to embark on our magical DIY journey to create a one-of-a-kind unicorn picture frame.
Painting the Frame in Whimsical Colors
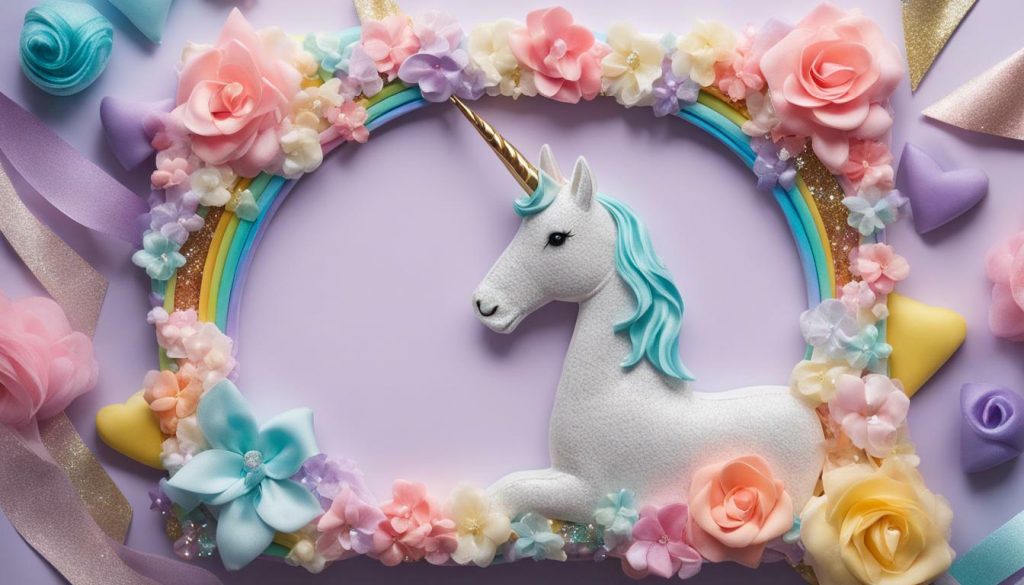
Get ready to add a pop of color and magic to your DIY unicorn picture frame as we unleash our creativity and paint it in whimsical shades. Whether you’re looking for picture framing ideas or want to create unicorn-themed crafts, this step is where the real fun begins!
To start, gather your materials: a heart-shaped wooden frame, acrylic paint in your chosen colors, foam brushes, and a clean workspace. Begin by deciding on your color palette. You can opt for soft pastels for a dreamy look or vibrant neon colors for a more playful vibe.
Next, apply a base coat to the entire frame using one of your chosen colors. This will create a solid foundation for the rest of the painting process. Once the base coat is dry, it’s time to add some whimsy!
| Steps | Materials |
|---|---|
| Step 1: Apply a base coat | – Heart-shaped wooden frame – Acrylic paint in chosen colors – Foam brushes |
| Step 2: Add gradient effect | – Additional acrylic paint colors – Foam brushes |
| Step 3: Paint decorative details | – Small brushes – Additional acrylic paint colors |
Remember, there are no rules when it comes to painting your unicorn picture frame. Let your imagination run wild and create unique patterns, gradients, or even sprinkle some glitter for an extra touch of enchantment. This is your opportunity to bring your unicorn dreams to life!
Step 1: Apply a base coat
Start by placing your wooden frame on a protected surface. Dip your foam brush into the chosen color for the base coat and apply an even layer of paint to the entire frame. Make sure to cover all sides and edges for a seamless finish. Let the base coat dry completely before moving on to the next step.
Step 2: Add gradient effect
Now it’s time to create a beautiful gradient effect on your unicorn picture frame. Choose two or more additional colors that complement your base coat. Dip separate foam brushes into each color and blend them together on the frame. Start with the lightest color at the top and gradually transition to the darkest color at the bottom.
Step 3: Paint decorative details
To add an extra touch of magic, use small brushes and additional acrylic paint colors to paint decorative details on your frame. You can create stars, hearts, flowers, or any other whimsical designs that come to mind. This is your chance to let your creativity soar!
Once you’re satisfied with the painted designs, let the frame dry completely before moving on to the next step. Congratulations! You have successfully transformed a simple wooden frame into a whimsical unicorn masterpiece.
Adding Unicorn Designs with Vinyl
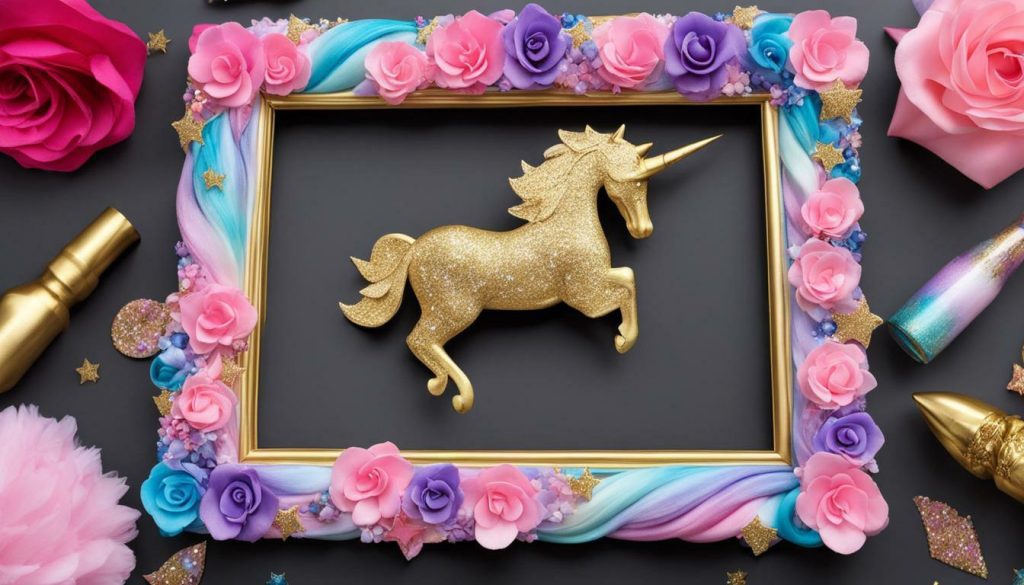
Let’s make our unicorn picture frame truly magical by adding enchanting unicorn designs using vinyl. With the help of a Cricut machine, we can easily create custom designs that will make our DIY unicorn frame truly one-of-a-kind. Vinyl is a versatile material that can be cut into intricate shapes and adhered to various surfaces, including wood. Whether you’re a beginner or an experienced crafter, this step will take your unicorn picture frame to the next level.
To get started, choose your desired unicorn designs and load them into the Cricut design software. Once you’re satisfied with the design, use the machine to cut the vinyl into the desired shapes and sizes. Make sure to peel off any excess vinyl and trim it with scissors if needed.
Next, transfer the vinyl designs onto the wooden frame using transfer tape. Peel off the backing of the vinyl and carefully place it on the frame, smoothing out any air bubbles or wrinkles. Press down firmly to ensure that the vinyl adheres securely to the frame. You can arrange the designs in any pattern or layout that you like, allowing your creativity to shine through.
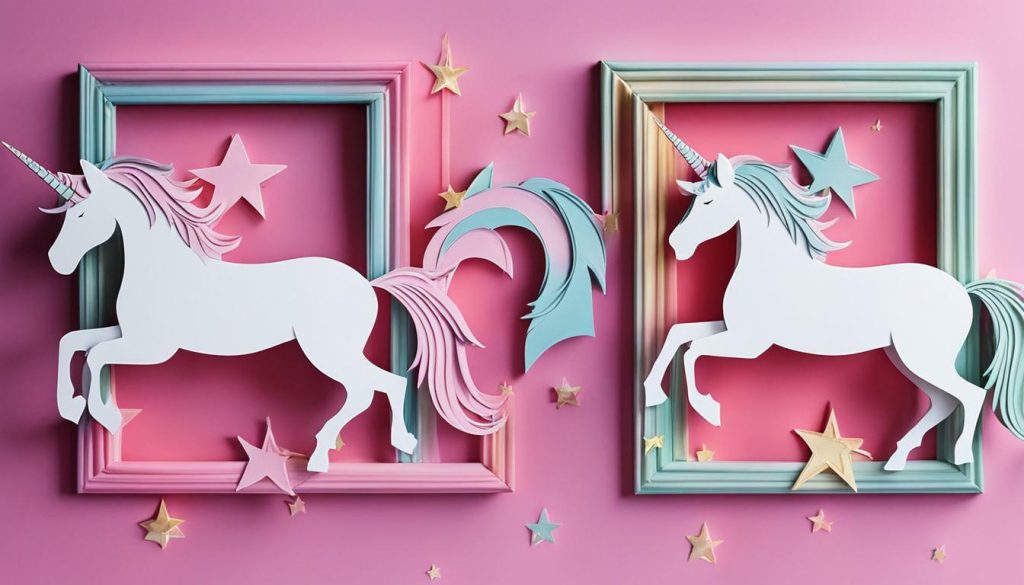
Once the vinyl is applied, step back and admire your handiwork. The unicorn designs will instantly bring a touch of whimsy and magic to your picture frame. This DIY project is perfect for adding a personalized touch to your home decor or as a thoughtful gift for unicorn enthusiasts. Let your imagination run wild and have fun creating a unicorn picture frame that is as unique as you are!
Transferring Vinyl Designs onto the Frame
It’s time to bring the magic to life as we transfer our vinyl designs onto the wooden frame. With the help of transfer tape, we can ensure precise placement and create a seamless look. Whether you’re using pre-made unicorn designs or creating your own, this step adds a touch of whimsy and personalization to your DIY glitter picture frame.
To begin, carefully peel the vinyl design from its backing and place it onto the transfer tape. Use a scraper or your fingers to smooth out any air bubbles. Next, position the transfer tape with the vinyl design onto the wooden frame. Gently press down and use your scraper to ensure proper adhesion.
Once the transfer tape is securely attached to the frame, slowly peel off the transfer tape, leaving the vinyl design behind. Take your time with this step to avoid any tearing or misplacement. The result will be a beautifully decorated unicorn-themed frame that will surely add a touch of enchantment to any photo or room.
Adding Some Sparkle with Glitter
If you want to elevate your foam picture frame craft to the next level, why not add some glitter? Glitter can give your unicorn frame a magical shimmer that captures attention. To achieve this, first, apply a thin, even layer of craft glue over the wooden frame. Then, sprinkle the glitter onto the glue, making sure to cover all areas.
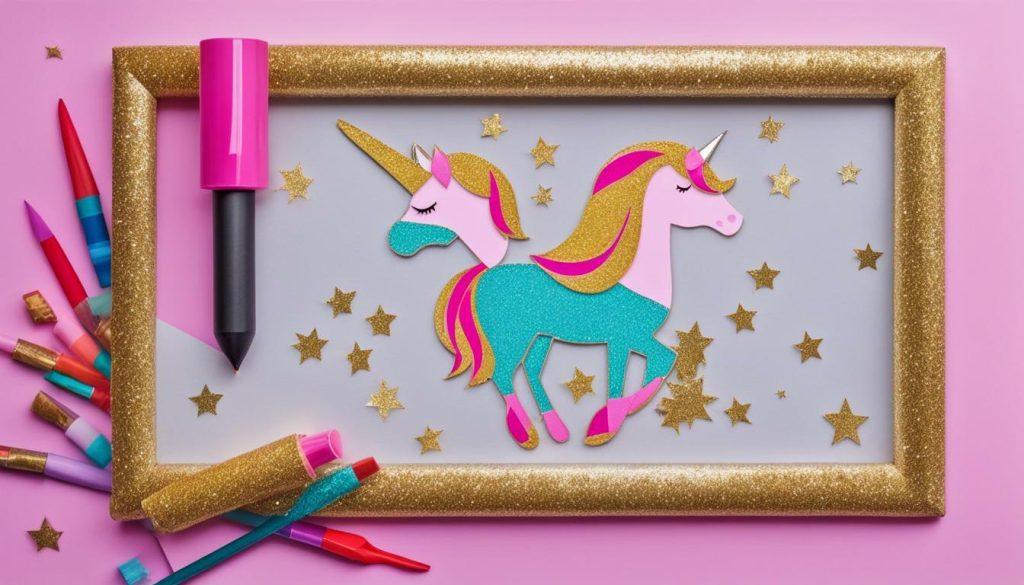
Allow the glue to dry completely before shaking off any excess glitter. You can use a small brush to gently remove any loose or stray glitter particles. The end result will be a sparkling frame that perfectly complements the unicorn design.
With the vinyl designs transferred onto the frame and the added touch of glitter, your DIY unicorn picture frame is now complete. It’s ready to showcase your favorite photo or be gifted to someone special. Get creative and have fun customizing your frame with different colors, designs, and finishes to make it truly one-of-a-kind.
Inserting a Photo and Final Touches
Our DIY unicorn picture frame is almost complete! Now, let’s add the finishing touches by inserting a photo that perfectly captures the magic. Whether you choose to use it as a unique DIY birthday card or simply as a whimsical decoration, this personalized frame will definitely bring a smile to anyone’s face. And why not add some flowers around it to enhance its charm?
To insert a photo, carefully remove the back of the frame and place your chosen picture inside. Make sure it is aligned properly and secure the back of the frame tightly. This will ensure that your photo stays in place and remains protected.
For the final touches, consider adding some artificial flowers around the frame. You can choose flowers that match the colors of the unicorn design or opt for a contrasting look to create visual interest. Arrange them in a circular pattern around the frame, gluing them in place if necessary.
Now, step back and admire your beautiful DIY unicorn picture frame. The combination of the magical unicorn design, the personalized photo, and the charming touch of the flowers will make it a delightful addition to any room or a thoughtful gift for someone special.

Conclusion
Congratulations on creating your very own DIY unicorn picture frame! By following this guide, you’ve added a touch of whimsy and creativity to your decor. Whether you’re using it to showcase unicorn pictures, decorating for a party, or experimenting with DIY gold picture frames, this craft is sure to bring joy and enchantment to your home.
To create your unicorn picture frame, start by painting a heart-shaped wooden frame in ombre colors using acrylic paint. Allow the frame to dry completely before moving on to the next step. Next, use a Cricut machine to cut out unicorn designs from vinyl. Arrange the designs on the frame and use transfer tape to transfer them onto the wooden surface. Press firmly to ensure a secure application.
Once the vinyl designs are in place, it’s time to insert a photo into your unicorn picture frame. Choose a favorite snapshot, whether it’s a picture of a unicorn or a cherished memory, and place it inside the frame. The completed frame can be displayed on a shelf, hung on a wall, or given as a thoughtful gift to a unicorn lover.
Whether you’re hosting a unicorn-themed party or simply want to add a touch of magic to your home, this DIY unicorn picture frame is a fun and easy project that allows you to unleash your creativity. So gather your supplies, put on your crafting hat, and let your imagination run wild. Enjoy the process and the joy that this whimsical craft brings!
FAQ
What supplies do I need to create a DIY unicorn picture frame?
You will need a heart-shaped wooden frame, acrylic paint, foam brushes, scissors, vinyl, a Cricut machine, transfer tape, and a photo.
How do I paint the frame in whimsical colors?
First, use acrylic paint to create an ombre effect on the frame. Start with one color at the top and gradually blend in other colors as you move downward. Let it dry before moving on to the next step.
How do I add unicorn designs with vinyl?
Use a Cricut machine to cut out unicorn designs from vinyl. Once you have your designs, use transfer tape to apply them onto the wooden frame. This will give your picture frame a magical touch.
How do I transfer vinyl designs onto the frame?
To transfer vinyl designs onto the frame, carefully peel off the backing of the vinyl and apply the design onto the frame using transfer tape. Smooth out any air bubbles and ensure that the design is securely attached.
How do I insert a photo into the frame?
Once your frame is decorated, simply remove the back and insert your favorite photo. You can choose to use the DIY unicorn picture frame as a fun and personalized birthday party favor or as a charming addition to your home decor.
What can I use the DIY unicorn picture frame for?
This unicorn picture frame can be used as a unique birthday party favor, a delightful craft activity for unicorn-themed parties, or simply as a creative and personalized gift. Let your imagination run wild and make it your own!


