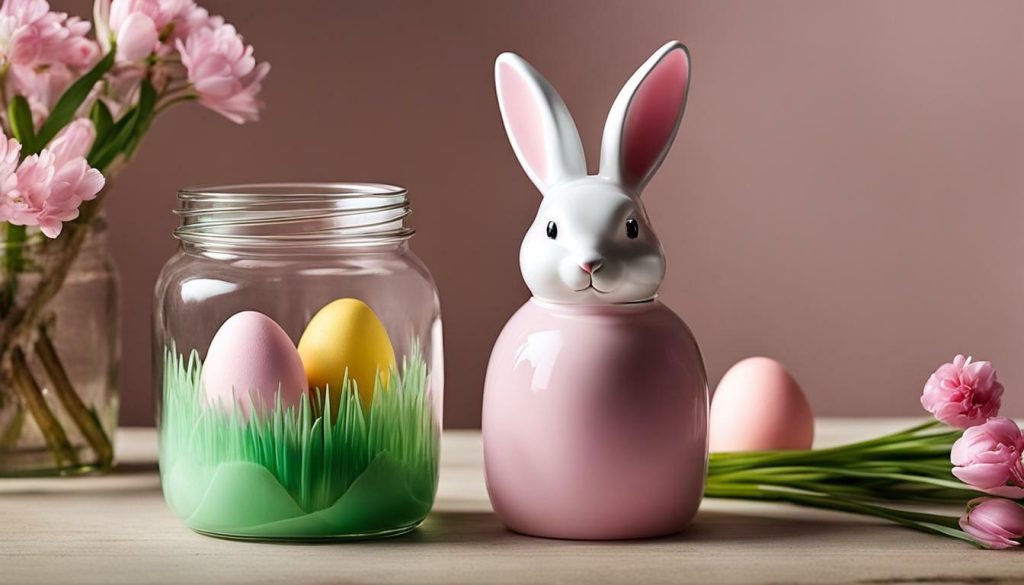
Easter is the perfect time to get crafty, and what better way to celebrate than by making your own cute and creative Easter Bunny Jar? This fun and easy project is a great way to add a festive touch to your home or to create a thoughtful homemade Easter gift.
In this article, I will guide you through the process of creating your very own DIY Easter Bunny Jar. With just a few materials and some simple steps, you’ll have a delightful decoration that’s sure to bring joy to your Easter celebrations.
Key Takeaways:
- Create a DIY Easter Bunny Jar for a fun and festive decoration.
- Use pint-sized mason jars, acrylic paint, scissors, hot glue, and a bunny ear headband to make your jar.
- Add unique touches like ribbon, yarn, and Easter grass or tissue paper to personalize your bunny jar.
- Get creative with different paint colors and decorations to make your bunny jar truly unique.
- Enjoy the satisfaction of crafting your own Easter decorations and sharing them with others.
Materials and Steps for DIY Easter Bunny Jar
To create your DIY Easter Bunny Jar, you will need a few simple materials and follow these easy steps:
- Start by gathering the following materials: pint-sized mason jars, acrylic paint in various colors, scissors, hot glue and a glue gun, assorted ribbon or yarn for trim, a bunny ear headband, Easter grass or tissue paper, a sharpie, and a cotton ball.
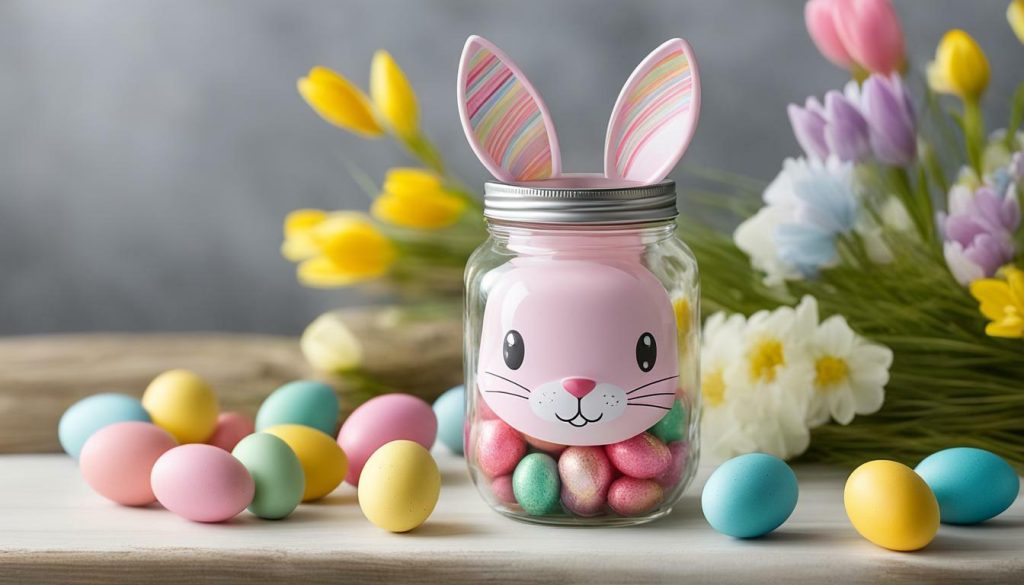
- First, paint the inside of the mason jar with acrylic paint and let it dry completely. This will create a vibrant background for your bunny face.
- Next, using a sharpie, draw a cute bunny face on the outside of the jar. Get creative with different expressions and designs! This will be the focal point of your Easter Bunny Jar.
- Now it’s time to add the bunny ears. Carefully disassemble the bunny ear headband and attach the ears to the back of the jar using hot glue. Make sure they are securely attached and positioned correctly.
- For an extra touch, glue a fluffy cotton ball to the back of the jar as a cute bunny tail.
- Once the glue has dried, fill the jar with Easter grass or tissue paper as a nest for your treats. You can also add small candies or mini chocolate eggs for an extra surprise.
- And voila! Your DIY Easter Bunny Jar is complete. It’s now ready to be displayed as a festive decoration or given as a thoughtful homemade Easter gift.
Get creative with different paint colors and decorations to make your Easter Bunny Jar truly unique. You can experiment with patterns, add glitter, or even personalize it with the recipient’s name. The possibilities are endless!
So go ahead and embrace your crafting skills this Easter season. Create your own DIY Easter Bunny Jar and spread joy with a homemade gift that’s sure to bring a smile to anyone’s face.
| Materials | Steps |
|---|---|
| pint-sized mason jars | 1. Start by gathering the materials. |
| acrylic paint in various colors | 2. Paint the inside of the mason jar. |
| scissors | 3. Draw a bunny face on the outside of the jar. |
| hot glue and a glue gun | 4. Attach the bunny ears to the back of the jar. |
| assorted ribbon or yarn for trim | 5. Glue a cotton ball for the bunny tail. |
| bunny ear headband | 6. Fill the jar with Easter grass or tissue paper. |
| Easter grass or tissue paper | 7. Your DIY Easter Bunny Jar is complete! |
Get Creative with Your DIY Easter Bunny Jar
Once you’ve mastered the basic steps of creating your DIY Easter Bunny Jar, it’s time to let your creativity shine and add your personal touch to make it truly one-of-a-kind. There are so many ways you can decorate and customize your bunny jar to suit your style and preferences.
Start by experimenting with different paint colors. Acrylic paints offer a wide range of vibrant shades that can bring your bunny jar to life. Consider using pastel colors to give it a soft and whimsical look, or go bold with bright and contrasting hues. You can also try different painting techniques like splatter painting, ombré effects, or even stenciling patterns onto the jar.
| Materials | Decoration Ideas |
|---|---|
| Ribbon or yarn | Create a bow tie around the jar neck |
| Bunny ear headband | Attach the bunny ears to the jar lid or side |
| Easter grass or tissue paper | Fill the jar with grass or paper to create a nest-like effect |
| Assorted beads or sequins | Glue beads or sequins to the bunny’s face for extra sparkle |
Don’t forget about the ears! You can use the bunny ear headband to add a playful element to your jar. Cut the ears off the headband and attach them to the back of the jar using hot glue. You can position them sticking up from the lid or have them droop down the sides. Get creative with different ear positions to give your bunny jar a unique look.
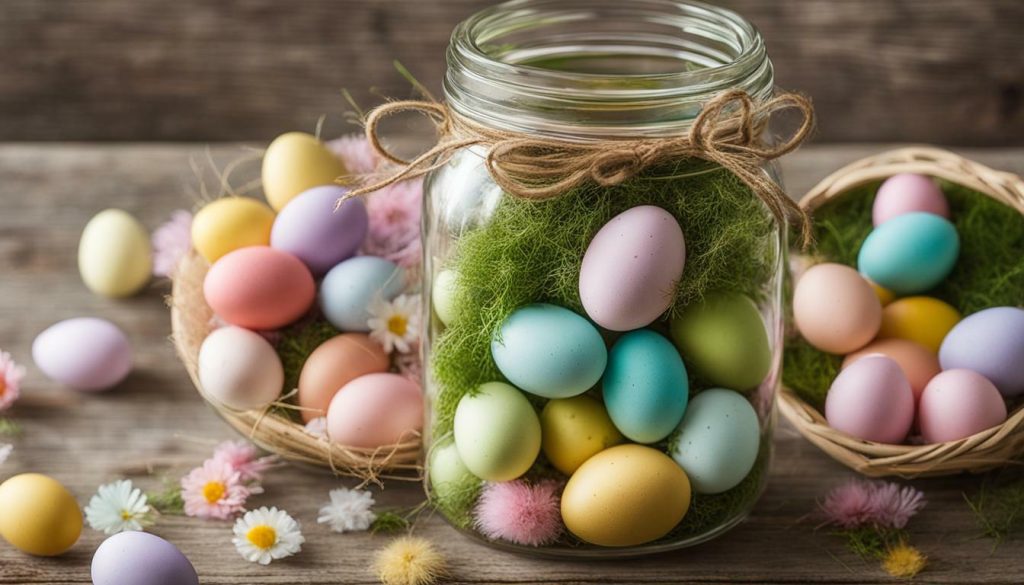
To complete the Easter theme, add some Easter grass or tissue paper to the top of your jar. This will create a nest-like effect and provide a soft bed for any treats or small Easter eggs you may want to place inside. The grass or paper will also add texture and visual interest to your bunny jar.
Quotes:
“The joy of crafting is that there are no limits to your imagination. Let your bunny jar be a reflection of your personality and creativity.” – Unknown
Remember, the possibilities are endless when it comes to decorating your DIY Easter Bunny Jar. You can use beads, sequins, fabric scraps, or any other decorative materials you have on hand to add extra flair. The key is to have fun and enjoy the creative process. Happy crafting!
Conclusion
Creating your own DIY Easter Bunny Jar is a fun and rewarding activity that will bring a touch of charm to your Easter celebrations. With just a few simple materials and some creativity, you can turn a plain mason jar into a delightful Easter decoration or homemade gift.
To get started, gather your supplies including pint-sized mason jars, acrylic paint in various colors, scissors, hot glue and a glue gun, assorted ribbon or yarn for trim, a bunny ear headband, Easter grass or tissue paper, a sharpie, and a cotton ball. Paint the inside of the mason jar with acrylic paint and let it dry.
Next, draw a cute bunny face on the outside of the jar using a sharpie. Disassemble the bunny ear headband and glue the ears to the back of the jar, along with a fluffy cotton ball for the tail. To complete your Easter Bunny Jar, add some Easter grass or tissue paper and fill it with treats or other small goodies.
Now it’s time to let your creativity shine! Experiment with different paint colors and decorations to make your bunny jar unique. You can add bows, stickers, or even paint intricate designs on the jar. The possibilities are endless, and the only limit is your imagination.
Whether you display your DIY Easter Bunny Jar on your mantel, use it as a centerpiece for your Easter table, or give it as a thoughtful homemade gift, it is sure to bring joy and smiles to all who see it. So gather your supplies, get creative, and have a hoppy Easter crafting!
FAQ
What materials do I need for the DIY Easter Bunny Jar?
You will need pint-sized mason jars, acrylic paint in various colors, scissors, hot glue and a glue gun, assorted ribbon or yarn for trim, a bunny ear headband, Easter grass or tissue paper, a sharpie, and a cotton ball.
How do I create the DIY Easter Bunny Jar?
First, paint the inside of the mason jar with acrylic paint and let it dry. Then, draw a bunny face on the outside of the jar using a sharpie. Disassemble the bunny headband and glue the ears to the back of the jar, along with a cotton ball for the tail. Add grass or tissue paper and treats on top, and your Easter Bunny Jar is complete.
How can I get creative with my DIY Easter Bunny Jar?
You can experiment with different paint colors and decorations to make your bunny jar unique. Try using glitter, stickers, or even adding a little bow tie to your bunny’s face. Let your imagination run wild!
What can I use my DIY Easter Bunny Jar for?
Your bunny jar can be used as a festive decoration for your home or as a thoughtful homemade Easter gift. Fill it with candies, small toys, or even a little note to make it extra special.
Are there any other Easter crafts I can try?
Absolutely! Easter is a wonderful time for crafting. You can make Easter wreaths, egg ornaments, bunny garlands, and much more. Get creative and have fun!


