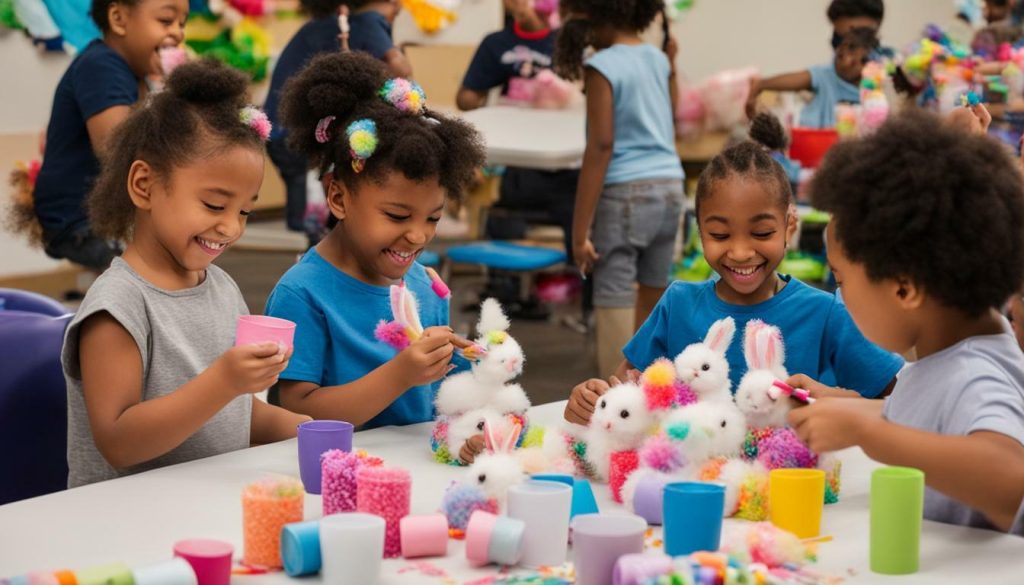
Welcome to the world of DIY Bunny Cup Craft! Get ready to have an amazing time creating cute bunny decorations or party favors with your kids that are easy to make and full of fun.
Learn how to make an adorable DIY Bunny Cup Craft for kids with this easy tutorial. Using foam cups, craft foam, googly eyes, and markers, kids can create their own cute bunny decorations or party favors. The craft takes about 5-10 minutes to complete and can be customized with different materials and fillings. The cups can be filled with candy, small toys, or even used as mini planters. Overall, this fun and affordable Easter craft is perfect for kids to enjoy and create lasting memories.
Key Takeaways:
- DIY Bunny Cup Craft is a fun and easy activity for kids
- Materials required include foam cups, craft foam, googly eyes, and markers
- Cups can be customized and filled with various items
- DIY Bunny Cup Craft can be used as decorations or party favors
- Create lasting memories with this affordable Easter craft
Materials needed for DIY Bunny Cup Craft
To bring these adorable bunny cups to life, you will need a few basic materials that you might already have at home. Let’s gather everything we need for this fun Easter craft!
Materials:
- Foam cups (preferably white)
- Craft foam (assorted colors)
- Googly eyes
- Markers
- Scissors
- Glue or tape
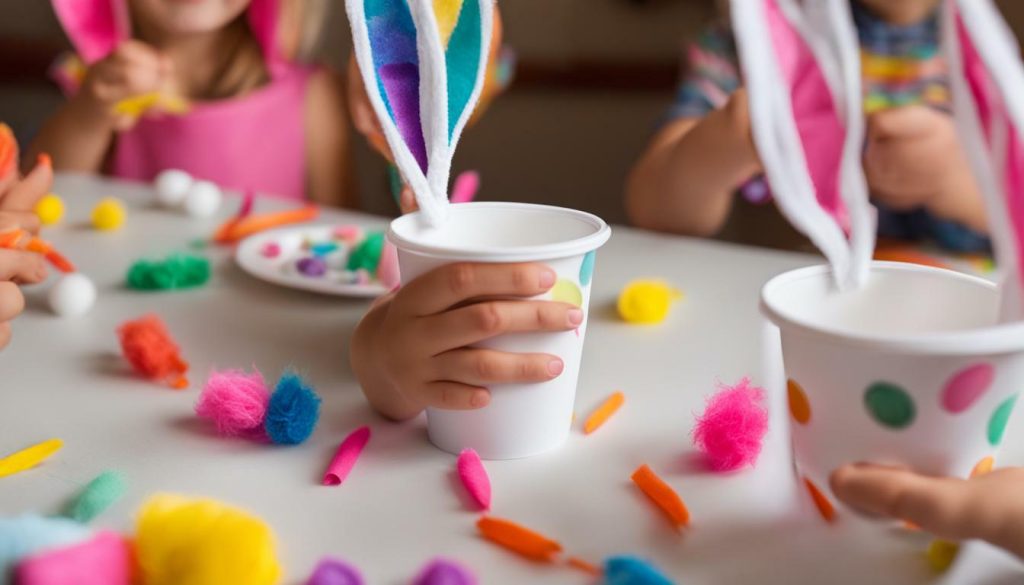
These materials can easily be found at craft stores, or you can repurpose items you already have at home. The foam cups will serve as the base for the bunny cups, while the craft foam will be used to create the bunny ears, nose, and other decorative elements. Googly eyes will give the cups a cute and lively look, and markers can be used to add details like whiskers and a mouth.
Once you have gathered all the materials, you are ready to start creating your DIY Bunny Cups. This craft is perfect for kids of all ages and can be done with adult supervision for younger children.
Now that we have everything we need, let’s dive into the step-by-step instructions for creating these adorable bunny cups! Stay tuned for the next section where I will guide you through each step, ensuring a fun and successful craft session.
| Materials | Quantity |
|---|---|
| Foam cups | 1 per bunny cup |
| Craft foam | Assorted colors |
| Googly eyes | 2 per bunny cup |
| Markers | Assorted colors |
| Scissors | 1 pair |
| Glue or tape | To secure craft foam and googly eyes |
Step-by-step instructions for DIY Bunny Cup Craft.
Let’s begin the crafting adventure by following these simple steps to make the most adorable bunny cups ever! Get ready for a whole lot of cuteness.
Materials needed:
- Foam cups
- Craft foam
- Googly eyes
- Markers
- Glue
- Scissors
- Start by cutting out bunny ear shapes from the craft foam. You can use different colors to make the ears more vibrant and fun. Make sure to cut out two ear shapes for each bunny cup.
- Take a foam cup and glue the bunny ear shapes to the back of the cup. Let the glue dry completely before moving on to the next step.
- Using markers, draw a cute bunny face on the front of the cup. You can get creative and add whiskers, a nose, and a mouth to make your bunny cups even more adorable.
- Finally, attach googly eyes to the bunny face using glue. This will give your bunny cups a fun and playful look.
- Allow the glue to dry completely, and your DIY Bunny Cups are ready to be filled and enjoyed!
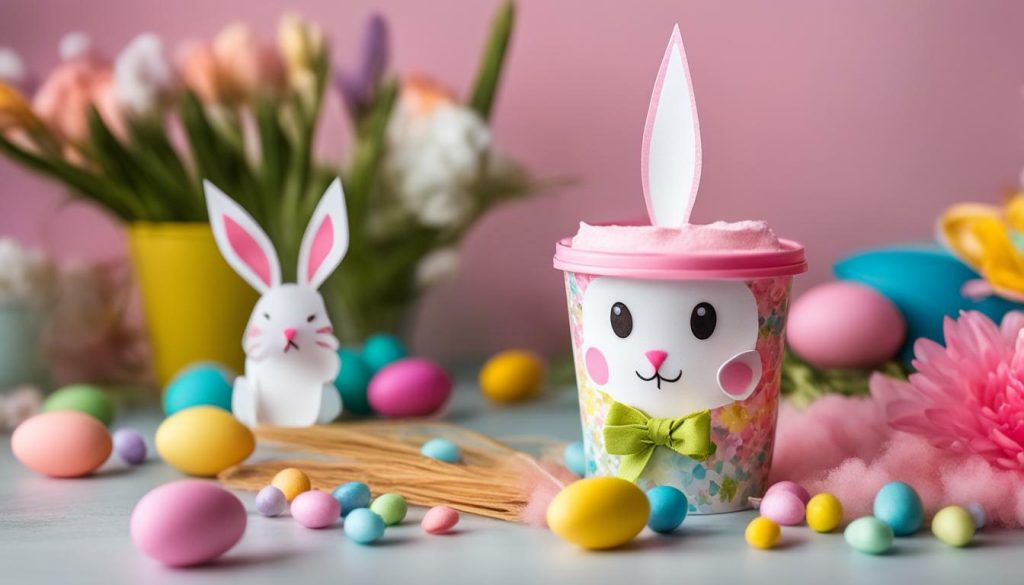
Fill your bunny cups with candy, small toys, or even use them as mini planters. These cute bunny cups can also be used as decorations for Easter celebrations or as party favors. The possibilities are endless!
Summary:
With foam cups, craft foam, googly eyes, and markers, kids can create their own adorable bunny cups with this easy DIY craft. By following the step-by-step instructions, kids can make personalized bunny cups in a matter of minutes. These bunny cups can be filled with various goodies or used as decorations, making them versatile and fun. Let your creativity soar and enjoy the joy of creating these cute bunny cups!
| Materials | Time | Age Group |
|---|---|---|
| Foam cups, Craft foam, Googly eyes, Markers, Glue, Scissors | 5-10 minutes | Kids (and adults too!) |
Endless possibilities with your DIY Bunny Cup Craft.
Once you’ve completed your bunny cups, get ready to explore the endless possibilities and uses for these cute creations. Let your imagination run wild! These adorable bunny cups can be utilized in various ways, making them versatile crafts for any occasion. Here are some ideas to inspire you:
1. Candy Holders:
Fill your bunny cups with colorful candies and use them as charming party favors or gifts. Kids will love receiving their very own candy-filled bunny cup! You can even personalize each cup with the recipient’s name or a sweet message.
2. Mini Planters:
Add a touch of nature to your home by using the bunny cups as mini planters. Fill them with soil and plant small flowers or herbs. These adorable planters will brighten up any space and make for a unique centerpiece on your dining table or windowsill.
3. Easter Decorations:
Enhance your Easter celebrations by incorporating the bunny cups into your decor. Arrange them as a centerpiece on your holiday table or hang them as cute ornaments on an Easter tree. You can also string them together to create a beautiful garland to adorn your fireplace or walls.
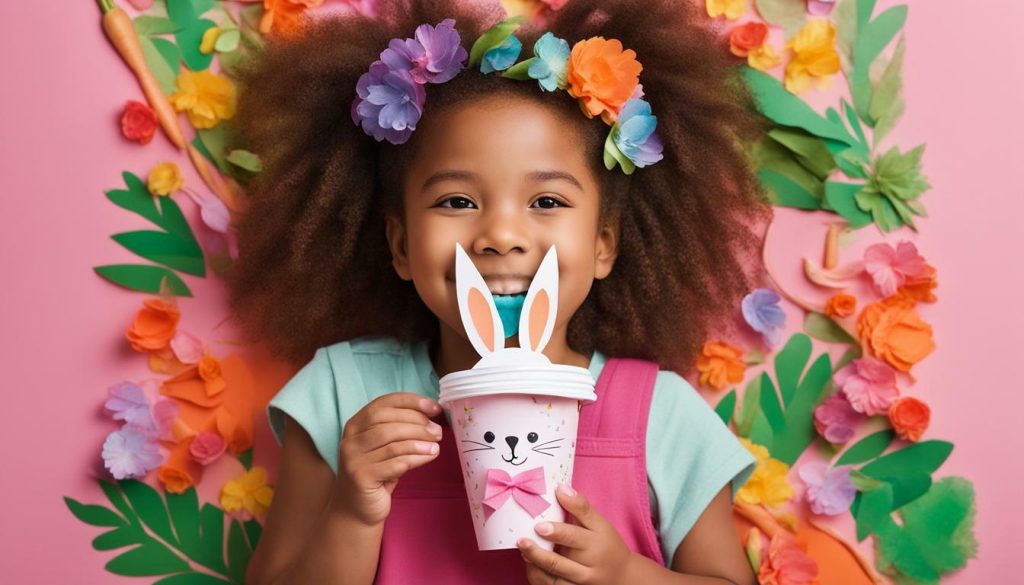
Remember, these are just a few of the many ways you can use your DIY Bunny Cup Craft. Get creative, experiment with different materials, and customize your bunny cups to suit your needs. Whether it’s for a birthday party, baby shower, or simply a fun craft activity with friends, these bunny cups are sure to bring joy and delight to everyone involved. Enjoy the process and have fun exploring the endless possibilities!
Conclusion
Congratulations on completing your DIY Bunny Cup Craft! I hope you had a fantastic time crafting with your kids and that this tutorial brought a smile to their faces. Creating these adorable bunny decorations or party favors using foam cups, craft foam, googly eyes, and markers is not only fun but also allows for endless creativity.
In just 5-10 minutes, you and your kids can make personalized bunny cups that will surely add an extra touch of cuteness to your Easter celebrations. You can customize them with different materials and fillings, making each bunny cup unique. Fill them with candy, small toys, or use them as mini planters to bring a touch of nature indoors.
This easy DIY Bunny Cup Craft is not only a great way to spend quality time with your kids but also an affordable and versatile option for Easter crafts. Let your children’s imagination run wild as they create their own bunny cups, and watch as their faces light up with joy and pride at their completed creations. This craft is bound to create lasting memories for both you and your children. So, gather your materials, get creative, and have a hoppy crafting time!
FAQ
How long does it take to complete the DIY Bunny Cup Craft?
The craft takes about 5-10 minutes to complete, making it a quick and enjoyable activity for kids.
Can the DIY Bunny Cups be customized?
Absolutely! Kids can use different materials and fillings to customize their bunny cups according to their preferences and creativity.
What can the bunny cups be filled with?
The cups can be filled with candy, small toys, or even used as mini planters. The possibilities are endless!
Are the bunny cups suitable for parties or decorations?
Definitely! The DIY Bunny Cups can be used as adorable decorations or party favors, adding a touch of cuteness to any celebration.
Is this craft appropriate for all ages?
The DIY Bunny Cup Craft is perfect for kids of all ages. Younger children may need adult supervision.


