After spending a delightful day in the garden, it’s no surprise that our nails may bear the marks of our green-thumb adventures. But fear not! I’m here to share practical tips on how to clean your nails after gardening, ensuring optimal nail care and hygiene so that your hands can continue to look their absolute best.
Gardening is a rewarding activity, but it can be challenging to remove dirt and debris from underneath your fingernails. While wearing gloves is an option, sometimes we need more tactile freedom for delicate tasks. So, let’s explore some effective techniques that will help you maintain clean and healthy nails after your gardening endeavors.
But before we dive into the cleaning process, it’s crucial to understand how to protect your hands and nails while gardening to minimize the accumulation of dirt and grime.
Before you start gardening, try this simple, yet effective, hack to safeguard your hands and nails. Scratch your fingernails over a dry bar of soap to fill the gap beneath each nail, creating a protective barrier against dirt. Additionally, apply a small amount of petroleum jelly on your cuticles to further prevent dirt and debris from becoming embedded. This proactive step will help maintain clean nails as you delve into your garden.
How to Clean Nails After Gardening
- Scratch your nails over a dry bar of soap to protect against dirt.
- Apply petroleum jelly on your cuticles to prevent debris from getting trapped.
Protecting Your Hands While Gardening
Before you begin your gardening adventure, it’s essential to take steps to protect your hands and nails. Ensuring gardening nail care will not only help prevent dirt from getting trapped under your nails but also maintain clean nails throughout the process.
One simple and effective hack is to scratch your fingernails over a dry bar of soap. This action fills the gap beneath each nail, preventing the dirt from finding its way in. By implementing this quick and easy technique, you’ll significantly reduce the amount of dirt that accumulates under your nails while gardening.
Another helpful tip is to apply a small amount of petroleum jelly to your cuticles before you start gardening. This creates a barrier and prevents dirt from getting buried and accumulating around the nail bed.
By incorporating these preventive measures into your gardening routine, you can ensure that your nails remain clean and free from dirt and debris while enjoying your time in the garden.
Cleaning Off Your Hands After Gardening
Once you’re done gardening, it’s important to clean off your hands and ensure your nails are free from dirt and residue. Follow these nail cleaning techniques to achieve professional-level nail cleaning at home.
Step 1: Washing Your Hands
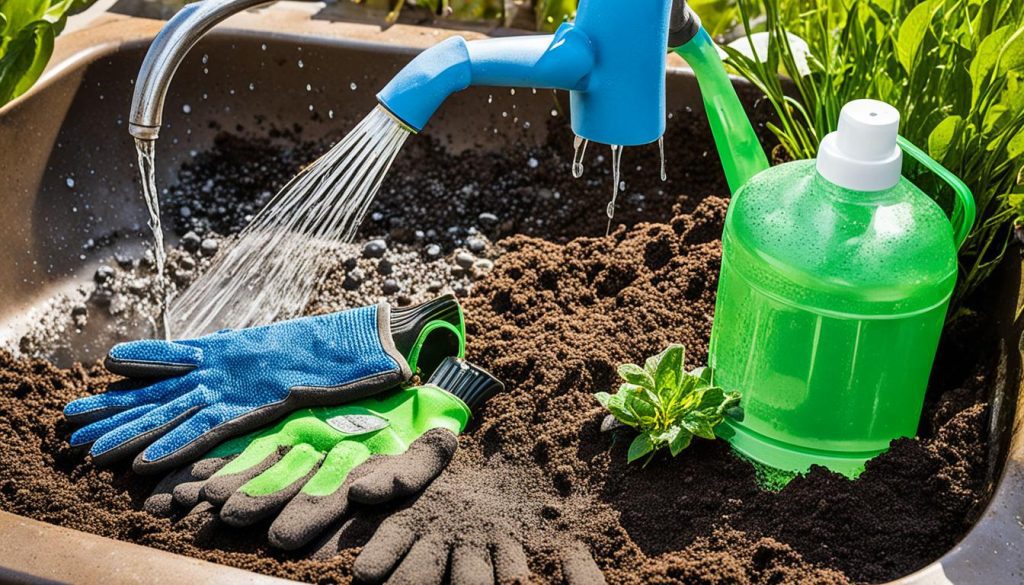
Begin by washing your hands with warm water and a mild soap. Rub your palms, the back of your hands, and between your fingers for at least 20 seconds to get rid of any surface dirt and germs.
Step 2: Scrubbing with a Nail Brush
Next, pick up a nail brush and gently scrub the dirt, petroleum jelly, and soap residue from underneath and over your nails. Pay extra attention to the areas around your cuticles and on the surface of your nails. Make sure to scrub in gentle circular motions to avoid damaging your nails or cuticles.
Step 3: Rinsing Thoroughly
After scrubbing, rinse your hands and nails thoroughly under running water. Ensure that all the dirt and cleaning products are completely washed away. Pay close attention to your nail beds to ensure they are clean and residue-free.
Step 4: Drying Your Hands
Once your hands are clean, gently pat them dry with a clean towel. Avoid rubbing as it can cause irritation to your skin and nails.
By following these nail cleaning techniques post-gardening, you can maintain clean and healthy nails. Incorporate these steps into your routine to achieve professional nail cleaning results right at home.
Soaking Your Nails for Cleanliness
To further clean your nails, you can soak them in warm, soapy water for a few minutes. Soaking your nails in warm water helps soften them, making it easier to remove any remaining dirt or debris. This simple yet effective method not only enhances nail cleanliness but also promotes overall nail health.
Start by filling a bowl or basin with warm water and adding a small amount of mild soap. Ensure the water is comfortably warm, but not too hot to avoid any discomfort.
Once the soapy water is ready, gently immerse your fingertips, ensuring that all your nails are fully submerged. Allow them to soak for about 5-10 minutes, giving the warm water enough time to soften the nails and loosen any dirt or debris lodged underneath.
While soaking, you can also use this time to relax and pamper yourself by adding a few drops of essential oils to the water for a soothing aromatherapy experience.
Additional Tips:
- If you have stubborn stains or discoloration on your nails, you can add a tablespoon of hydrogen peroxide or lemon juice to the warm water. These natural bleaching agents can help brighten your nails and remove any deep-seated stains.
- For extra relaxation and nourishment, you can add a tablespoon of Epsom salt to the warm water. Epsom salt can help soothe tired hands, reduce inflammation, and promote healthy nail growth.
- After soaking, gently pat your nails dry with a clean towel, ensuring there is no excess moisture trapped underneath.
- Remember to follow up with a nail brush or a soft toothbrush to gently scrub away any remaining dirt or debris. This step will ensure thorough cleanliness and prevent any residue from accumulating.
By incorporating regular nail soaking into your nail care routine, you can maintain clean and healthy nails. Soaking not only helps in achieving immaculate nail hygiene but also provides a relaxing and indulgent self-care ritual.
Using Vinegar and Water Mixture
When it comes to cleaning your nails, there’s another method that works wonders: a mixture of apple cider vinegar and warm water. This powerful solution can leave your nails looking squeaky clean and free from any stains or discoloration.
To begin, mix equal parts apple cider vinegar and warm water in a bowl or basin. Make sure the water is warm, but not too hot, as you’ll be soaking your fingertips in it for about 20 minutes.
Once the mixture is ready, immerse your fingertips in the solution and let them soak. This will allow the acetic acid properties of the vinegar to penetrate your nails and break down any stains or discoloration.
While you’re soaking your nails, take some time to relax and enjoy the rejuvenating properties of the vinegar and water mixture. You can even enhance the experience by adding a few drops of essential oils, such as lavender or peppermint, to create a calming and refreshing atmosphere.
After 20 minutes, remove your fingertips from the solution and rinse them thoroughly with water. Pat them dry with a clean towel, and voila! You’ll notice that your nails are now squeaky clean and ready to impress.
Remember, using apple cider vinegar to clean your nails is a natural and effective method. It’s suitable for all nail types and can be done once a week or as needed to maintain that squeaky clean look.
Benefits of Using Vinegar and Water Mixture:
- Removes stains and discoloration
- Leaves nails looking squeaky clean
- Natural and safe for all nail types
- Can be done once a week or as needed
Scrubbing with Baking Soda Paste
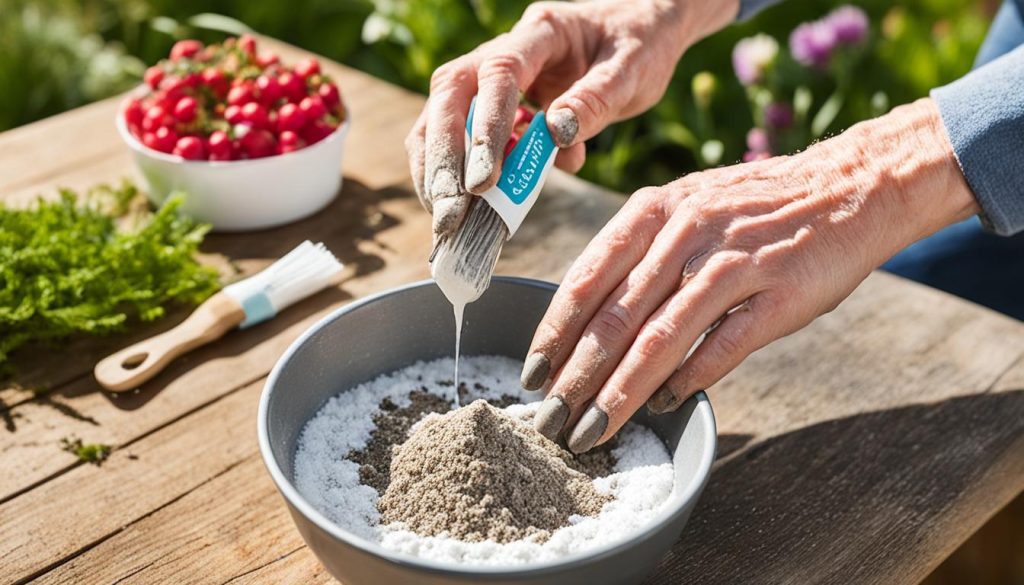
If you’re looking to achieve whiter nails, a simple and effective method involves using a baking soda paste. This natural remedy can help brighten and enhance the appearance of your nails. To create the paste, combine baking soda with hydrogen peroxide in a small bowl, using equal parts of each ingredient.
Once the paste is ready, apply it generously onto your nails, ensuring full coverage. Gently massage the paste into your nails, paying extra attention to any areas with noticeable staining. Allow the paste to dry and harden for approximately 5-10 minutes, or until it becomes firm.
After the paste has hardened, rinse off your nails with warm water. Use a gentle nail brush to scrub away the baking soda residue, revealing whiter and brighter nails underneath. Pat dry your nails with a clean towel.
This method can be repeated weekly to maintain the appearance of your nails and to gradually minimize any discoloration or stains. However, it’s important to note that excessive or aggressive scrubbing may damage the surface of your nails, so always be gentle and cautious.
Remember, the baking soda paste is a natural whitening option that can safely remove surface stains and help restore the natural brightness of your nails. Incorporating this method into your nail care routine can contribute to achieving brighter, healthier-looking nails.
Nail Care Tips for Gardeners
Gardeners have unique nail care needs due to their exposure to dirt and other elements. To keep your nails in top shape, here are some tips to follow:
- Keep your nails short and neatly trimmed. Shorter nails are less likely to accumulate dirt and are easier to maintain.
- Before gardening, scratch your nails over a damp bar of soap. This will help create a barrier and prevent dirt from getting trapped underneath your nails.
- Moisturize your cuticles with petroleum jelly or lotion before gardening. This will help protect your cuticles and prevent dryness caused by soil and water exposure.
- Regularly scrub your nails with a nail brush to remove any dirt or debris that may have accumulated. Pay attention to both the top and underside of your nails.
- Soak your nails in warm, soapy water for a few minutes to further clean and soften them. This is especially beneficial after a long day of gardening.
- Consider using natural remedies such as a mixture of equal parts apple cider vinegar and warm water to soak your nails. It can help remove stains and keep your nails squeaky clean.
- Create a baking soda and peroxide paste to scrub your nails for a whitening effect. Apply the paste, let it dry and harden, then wash it off to reveal whiter nails.
By incorporating these nail hygiene tips into your gardening routine, you can maintain clean and healthy nails while enjoying your time in the garden.
Hand Care for Gardeners
In addition to nail care, gardeners should prioritize overall hand care to maintain healthy and clean hands. Here are some essential hand care tips for gardeners:
1. Regularly Wash Your Hands
Make a habit of washing your hands with a mild, natural soap before and after gardening. This simple practice will help remove dirt, grime, and germs, keeping your hands clean and hygienic.
2. Scrub Your Hands
Scrubbing your hands with a soft brush is an effective way to remove stubborn dirt and debris. Pay extra attention to areas like the fingertips, nails, and under the nails. This will ensure a thorough clean and prevent the buildup of dirt.
3. Use a Pumice Stone
If you have rough or dry skin on your hands, gently scrubbing it with a pumice stone can help remove dead skin cells and make your hands smoother. Use the pumice stone in circular motions, focusing on areas that are prone to dryness, such as the palms and knuckles.
4. Moisturize Your Hands
After washing and exfoliating, it’s important to moisturize your hands to prevent dryness and keep them soft. Choose a nourishing hand lotion or natural oils like coconut or almond oil. Apply the moisturizer generously and massage it into your hands, paying attention to the cuticles and nails.
5. Protect Your Hands from Harsh Chemicals
When working in the garden, try to avoid direct contact with harsh chemicals, such as pesticides or fertilizers. If you must handle these substances, wear waterproof gloves to protect your skin and nails from potential damage.
6. Take Breaks and Stretch
Gardening can be physically demanding, so it’s essential to take regular breaks to rest and stretch your hands. Stretching exercises can help alleviate muscle tension and improve circulation, promoting overall hand health.
By following these hand care tips for gardeners, you can maintain clean, healthy hands while enjoying your time in the garden.
Natural Remedies for Nail Health
To promote nail health, I recommend incorporating natural remedies into your nail care routine. These remedies are not only effective but also gentle on your nails, keeping them strong and moisturized.
One of the best ways to moisturize your nails is by using aloe, cocoa butter lotion, or natural oils like olive or coconut. Applying these moisturizers to your nails regularly will help keep them pliable and prevent cracking.
If you have yellow nails caused by smoking, staining, or fungal infections, lemon juice or tea tree oil can be beneficial. Both lemon juice and tea tree oil have natural bleaching and antifungal properties that can help treat discoloration and infections.
For improving the overall appearance of your nails, you can try using a denture-cleaning solution or apple cider vinegar. These solutions can effectively remove stains and restore the natural shine of your nails.
Additionally, taking supplements like biotin can also help strengthen your nails. Biotin is a B-vitamin that promotes nail growth and prevents brittleness.
Remember, natural remedies take time to show results, so consistency is key. Incorporate these remedies into your nail care routine and give your nails the care they deserve.
Giving Your Nails a Break from Polish
If you regularly wear nail polish, it’s essential to give your nails a break occasionally. Removing nail polish and allowing your nails to rest for a month or two will strengthen them and prevent staining. During this break, you can focus on giving your nails some much-needed TLC.
One way to strengthen your nails is by using homemade cleansers and whiteners. These natural remedies can help restore the health and appearance of your nails. For example, you can create a paste using baking soda and hydrogen peroxide. Apply the paste to your nails, let it dry and harden, and then wash it off to reveal whiter nails.
Another popular method is to soak your nails in warm water mixed with a few drops of olive oil or lemon juice. This will help moisturize and nourish your nails, promoting their overall health and strength.
While you’re giving your nails a break, remember to keep them clean and well-maintained. Regularly trim and file your nails to prevent them from becoming weak or brittle. You can also apply a coat of clear nail strengthener to protect your nails during this rest period.
By giving your nails a break from polish and providing them with proper care and nourishment, you’ll be able to strengthen them and maintain their natural beauty. So, take some time to pamper your nails and enjoy the benefits of healthy, strong nails.
Maintaining Nail Hygiene
One of the key aspects of maintaining overall nail health is ensuring proper nail hygiene. By following some essential practices, you can prevent nail infections and keep your nails clean and healthy.
Avoid Excessive Exposure
To maintain nail hygiene, it’s important to limit your nails’ exposure to water and chemicals. Prolonged contact with water can cause your nails to become weak and brittle. When engaging in activities that involve excessive water or chemicals, such as dishwashing or cleaning, it’s advisable to wear protective gloves to minimize the exposure of your nails.
Push Back Cuticles Regularly
Regularly pushing back your cuticles is a crucial step in preventing hangnails and maintaining nail hygiene. Gently push the cuticles back using a cuticle pusher or an orangewood stick after you have taken a warm shower or bath. This helps to keep the area around the nails clean and reduces the risk of developing infections.
Trim and File Nails Properly
Properly trimming and filing your nails is another important aspect of maintaining nail hygiene. Use sharp, clean nail clippers to trim your nails, making sure to cut them straight across to avoid ingrown nails. Avoid cutting them too short, as this can lead to painful nail conditions. Use a nail file to shape the edges of your nails, ensuring they are smooth and free from any rough edges.
Remember: It’s crucial to use proper techniques and tools for trimming and filing your nails to prevent damage and maintain their cleanliness.
By incorporating these practices into your nail care routine, you can prevent nail infections and promote overall nail hygiene. Take the necessary steps to protect your nails from excessive water and chemicals, regularly push back your cuticles, and use proper techniques when trimming and filing your nails. Your nails will not only look clean and healthy but also be less prone to infections and other related issues.
Conclusion
Keeping your nails clean after gardening is vital for maintaining good nail hygiene and ensuring that your hands always look their best. By following the practical tips and techniques discussed throughout this article, you can effectively remove dirt and debris from your nails, leaving them clean and healthy.
Remember to prioritize the protection of your hands and nails while gardening. Utilize the simple hack of scratching your fingernails over a bar of soap and applying petroleum jelly to your cuticles to prevent dirt from getting trapped. These small steps will go a long way in preserving the cleanliness and appearance of your nails.
In addition to cleaning, it’s crucial to focus on overall hand care. Regularly washing your hands with mild soap, using a soft brush to scrub away dirt, and moisturizing with lotion or oils will help keep your hands soft and healthy. Taking care of your hands is essential, even if you prefer not to wear gloves while gardening.
By incorporating these practices into your gardening routine, you can enjoy your time in the garden without worrying about the cleanliness of your nails. So go ahead, get your hands dirty, and feel confident that your post-gardening nail cleaning routine will leave your nails looking great!


