Welcome to our guide on creating a charming Winnie the Pooh paper plate craft! This fun and easy DIY project is perfect for kids and can be enjoyed by children of all ages. With just a few materials, you can create a delightful Winnie the Pooh decoration that will add a touch of whimsy to any space.
To get started, you will need a yellow paper plate, black pipe cleaner, black felt or pom poms, Styrofoam balls, glue, and yellow paint or marker. These are common materials that can be easily found at your local craft store or even repurposed from items you may already have at home.
First, paint or color the paper plate yellow and allow it to dry. This step sets the stage for creating Winnie the Pooh’s iconic yellow color. Once the plate is dry, you can begin assembling the facial features. Cut the pipe cleaner into two 1-inch pieces for the eyebrows and one 6-inch piece for the mouth. Attach the pipe cleaner pieces, along with the eyes, nose, eyebrows, mouth, and ears, to the paper plate using glue. Take your time and enjoy the process of bringing Winnie the Pooh to life on your paper plate canvas.
One of the best things about this craft is its versatility. You can personalize your Winnie the Pooh paper plate by adding additional touches like ribbons, stickers, or even glitter. Encourage your child’s creativity and let them make the craft their own. This will not only make the final product unique but also create a sense of pride and accomplishment.
Celebrate National Winnie the Pooh Day with this delightful craft. This annual event, celebrated on January 18th, honors the beloved bear and encourages fans of all ages to embrace the joy and wonder of the Hundred Acre Wood. Creating the Winnie the Pooh paper plate craft is a perfect way to join in the celebration and pay homage to this timeless character.
By crafting together and creating Winnie the Pooh decorations, you can create lasting childhood memories. The process of working together, sharing ideas, and completing a project can strengthen family bonds and create moments that will be cherished for years to come.
In conclusion, the Winnie the Pooh paper plate craft is a fun and easy DIY project that will bring a touch of whimsy to any space. With just a few materials and simple steps, you can create a delightful Winnie the Pooh decoration that can be personalized and enjoyed by children of all ages. So gather your supplies, get creative, and let the magic of Winnie the Pooh inspire your crafting adventures!
Key Takeaways
- The Winnie the Pooh paper plate craft is a fun and easy DIY project that children of all ages can enjoy.
- Materials needed include a yellow paper plate, black pipe cleaner, black felt or pom poms, Styrofoam balls, glue, and yellow paint or marker.
- Paint the plate yellow, cut and attach the facial features using glue, and personalize the craft with additional touches.
- Celebrate National Winnie the Pooh Day on January 18th by creating this delightful craft.
- Crafting together and creating Winnie the Pooh decorations can create lasting childhood memories and strengthen family bonds.
To get started on this delightful craft project, gather the following materials:
- A yellow paper plate
- Black pipe cleaner
- Black felt or pom poms
- Styrofoam balls
- Glue
- Yellow paint or marker
Once you have all the materials ready, you can begin creating your Winnie the Pooh paper plate craft.
Step 1: Painting the Paper Plate
Start by painting or coloring the paper plate yellow. If you don’t have yellow paint or markers, you can use any other yellow-colored material of your choice. Allow the paint to dry completely before moving on to the next step.
Step 2: Creating the Facial Features
Now it’s time to bring Winnie the Pooh to life by adding his adorable facial features. Cut the black pipe cleaner into two 1-inch pieces for the eyebrows, and one 6-inch piece for the mouth. Attach these pipe cleaner pieces to the paper plate using glue. Then, attach the eyes, nose, and ears made from black felt or pom poms. You can use glue or double-sided tape to secure them in place. Finally, add the Styrofoam balls as Winnie the Pooh’s cheeks.
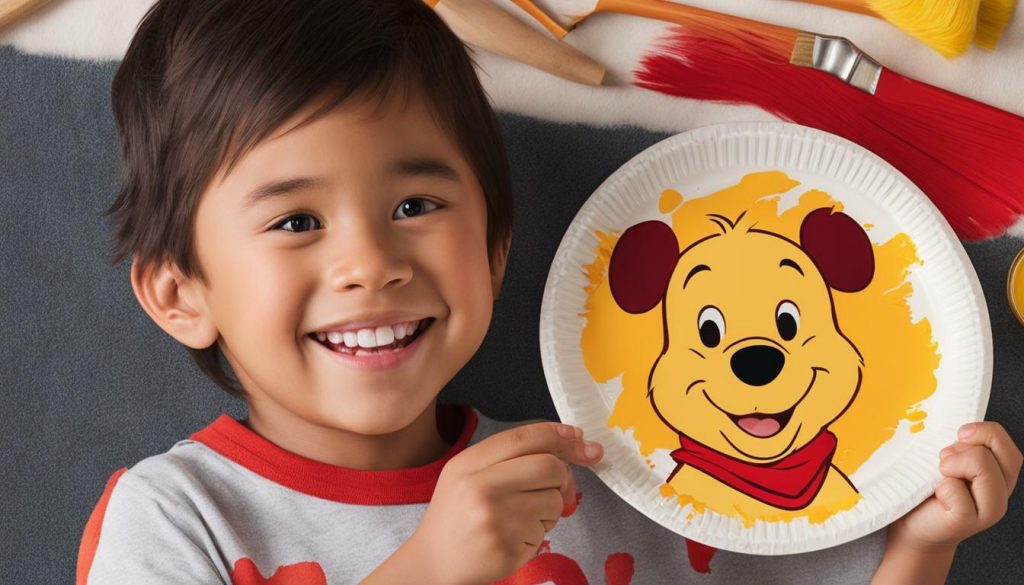
Once all the facial features are securely attached, your Winnie the Pooh paper plate craft is complete. Feel free to add your own creative touches and personalize it further with additional decorations or drawings.
This craft activity is not only a fun way to celebrate National Winnie the Pooh Day but also an opportunity to create lasting childhood memories with your kids. Crafting together fosters bonding and allows children to explore their creativity.
In conclusion, with just a few simple materials, you can create a cute and personalized Winnie the Pooh paper plate craft. So gather your supplies, unleash your imagination, and enjoy the process of making this delightful decoration.
Painting the Paper Plate
Let the creativity flow as you paint or color the paper plate yellow, bringing Winnie the Pooh to life. This step is where the craft really starts to take shape, and kids will enjoy adding their personal touch to their creation. You can use yellow paint or a yellow marker to color the plate, allowing for flexibility and ease.
Once you’ve chosen your preferred coloring method, take your time to cover the entire surface of the plate. Encourage kids to get creative by experimenting with different shades of yellow or adding patterns. This is their chance to put their artistic skills to the test and make their Winnie the Pooh paper plate truly unique.
Remember to allow the paint or marker to dry completely before moving on to the next step. Patience is key here, as rushing could lead to smudges or smears. So, take a break, have a snack, or explore other craft activities while waiting for the paint to dry.
| Materials: | Quantity: |
|---|---|
| Yellow paper plate | 1 |
| Yellow paint or marker | 1 |
| Paintbrush or marker | 1 |
Creating the Facial Features
Now it’s time to give Winnie the Pooh his lovable expression by carefully attaching his facial features to the paper plate. This is where the magic happens and our craft truly comes to life!
Start by cutting the black pipe cleaner into two 1-inch pieces for the eyebrows and one 6-inch piece for the mouth. These pipe cleaner pieces will add dimension and character to Winnie the Pooh’s face.
Next, using glue, attach the pipe cleaner pieces to the top of the paper plate for the eyebrows and in the center for the mouth. Make sure to position them in a way that gives Winnie the Pooh his signature adorable expression.
Now let’s move on to the eyes, nose, and ears. Use black felt or small pom poms to create the eyes. Styrofoam balls can be used for the nose, while the ears can be made by cutting out ear shapes from yellow paper or felt.
Once you have all the facial features ready, glue the eyes, nose, and ears to the paper plate. Take your time to position them correctly and ensure they are securely attached. After all, we want our Winnie the Pooh decoration to last!
- Cut the black pipe cleaner into two 1-inch pieces for the eyebrows and one 6-inch piece for the mouth.
- Attach the pipe cleaner pieces to the paper plate using glue.
- Use black felt or small pom poms for the eyes. Use Styrofoam balls for the nose.
- Create the ears by cutting out ear shapes from yellow paper or felt.
- Glue the eyes, nose, and ears to the paper plate. Ensure they are securely attached.
Now that we’ve completed Winnie the Pooh’s facial features, take a step back and admire your adorable creation! The combination of the yellow painted plate, pipe cleaner eyebrows and mouth, and the perfectly positioned eyes, nose, and ears truly bring Winnie the Pooh to life.
Feel free to personalize your craft further by adding extra embellishments or drawings to the paper plate. Use your imagination and creativity to make this Winnie the Pooh paper plate craft uniquely yours.
Personalizing the Craft
Let your imagination soar and add a personal touch to your Winnie the Pooh creation with additional decorations or details. This craft provides endless opportunities for kids to express their creativity and make their craft truly unique. Here are some ideas to inspire you:
- Use colored markers or paint to add patterns or designs to Winnie the Pooh’s body or the background of the plate.
- Attach small fabric or paper flowers to Winnie the Pooh’s head to create a floral crown.
- Add a small honey pot to the craft by drawing or cutting out the shape and sticking it near Winnie the Pooh.
- Use glitter glue or sequins to add a touch of sparkle to the craft.
Don’t be afraid to let your little ones experiment and come up with their own ideas. Encourage them to think outside the box and create their own versions of Winnie the Pooh using different materials and colors. Remember, the goal is to have fun and enjoy the process of crafting together.
By personalizing the craft, you’re not only enhancing its visual appeal but also giving your child a sense of ownership and pride in their creation. Celebrate their uniqueness and creativity by displaying their artwork proudly or gifting it to a loved one. Let this craft be a cherished memory of the joy and imagination shared during this creative journey.
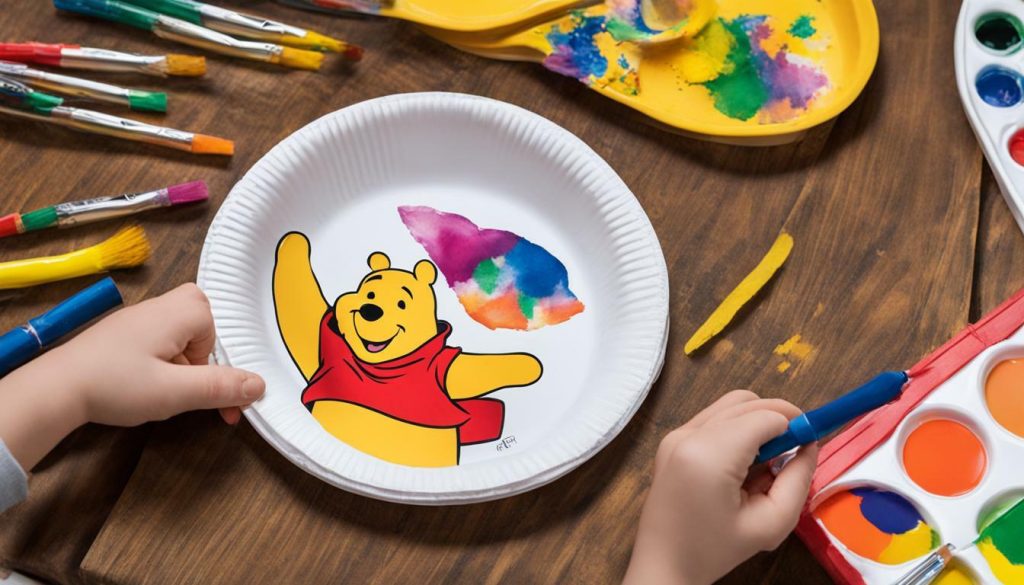
| Materials | Additional Decorations |
|---|---|
| Yellow paper plate | Colored markers |
| Black pipe cleaner | Fabric or paper flowers |
| Black felt or pom poms | Small honey pot shape |
| Styrofoam balls | Glitter glue or sequins |
| Glue | |
| Yellow paint or marker |
Celebrating National Winnie the Pooh Day
Join the nationwide celebration of National Winnie the Pooh Day by engaging in this delightful paper plate craft suitable for children of all ages. Celebrated annually on January 18th, this special day commemorates the beloved bear and his adventures in the Hundred Acre Wood.
For this craft activity, you will need a few simple materials: a yellow paper plate, black pipe cleaners, black felt or pom poms, Styrofoam balls, glue, and yellow paint or markers. These items can be easily found at any local craft store or even in your own craft stash at home.
First, paint the paper plate yellow or use yellow markers to color it. Allow it to dry completely before moving on to the next step. Next, cut the pipe cleaner into two 1-inch pieces and one 6-inch piece. These pieces will serve as the eyebrows and the mouth of our adorable Winnie the Pooh. Use glue to attach the pipe cleaner pieces, eyes, nose, eyebrows, mouth, and ears to the paper plate. Arrange them in a way that resembles the iconic look of Winnie the Pooh. Feel free to get creative and add your own personal touch to make your paper plate craft unique.
Once your craft is complete, you will have a cute Winnie the Pooh decoration that can be proudly displayed or used as a party decoration. This craft activity not only celebrates National Winnie the Pooh Day but also provides an opportunity for children to express their creativity, develop their fine motor skills, and create lasting childhood memories. So gather your supplies, unleash your imagination, and have fun celebrating the world of Winnie the Pooh!
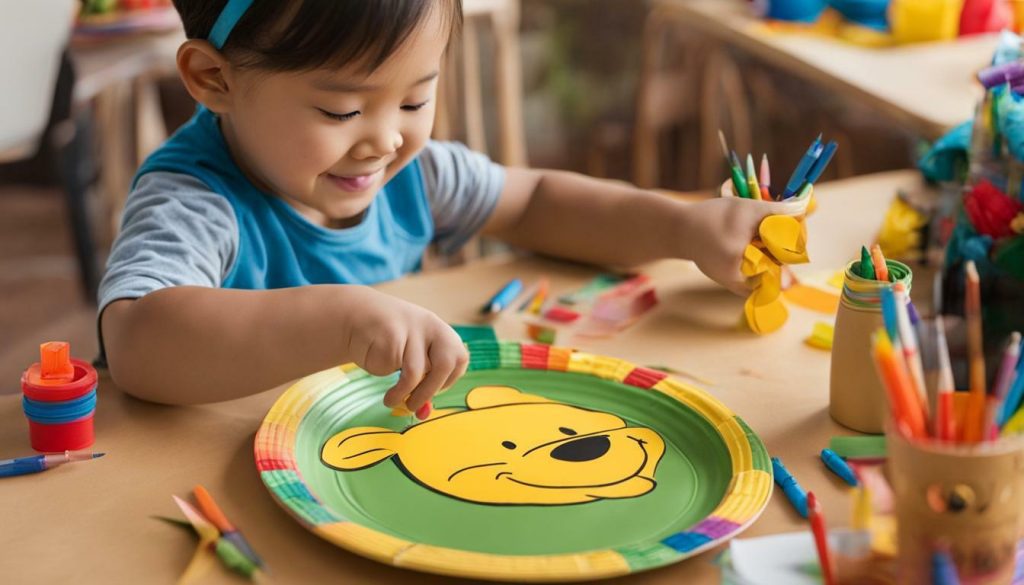
| Materials needed: | |
|---|---|
| – Yellow paper plate | – Black pipe cleaner |
| – Black felt or pom poms | – Styrofoam balls |
| – Glue | – Yellow paint or markers |
Creating Lasting Childhood Memories
Engaging in craft activities like the Winnie the Pooh paper plate craft not only sparks creativity but also creates lasting memories for children. The process of creating something with their own hands gives them a sense of accomplishment and pride. As they work on each step of the craft, they develop their fine motor skills and hand-eye coordination. This hands-on experience allows them to explore their imagination and express their unique artistic flair.
Crafting together with family or friends also provides an opportunity for bonding and quality time. The shared experience of creating something beautiful and meaningful fosters connection and strengthens relationships. Children will cherish these memories for years to come, looking back fondly on the moments spent crafting with loved ones.
Through the Winnie the Pooh paper plate craft, children can bring their favorite bear to life and immerse themselves in the magical world of Hundred Acre Wood. This craft not only celebrates National Winnie the Pooh Day but also serves as a reminder of the joy and wonder that childhood brings. So gather your materials, unleash your creativity, and embark on a crafting adventure that will create lasting memories for you and your little ones.
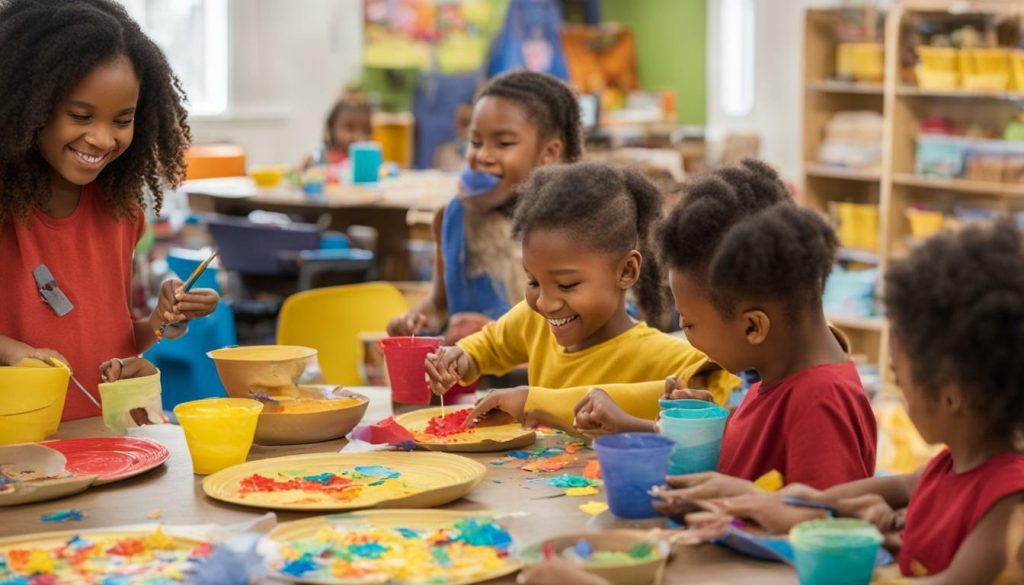
| Benefits of the Winnie the Pooh Paper Plate Craft |
|---|
| – Enhances fine motor skills and hand-eye coordination |
| – Boosts creativity and imagination |
| – Fosters bonding and quality time with loved ones |
| – Creates lasting memories for children |
Final Thoughts on the Winnie the Pooh Paper Plate Craft
The Winnie the Pooh paper plate craft is a versatile and enjoyable activity that provides both entertainment and a sense of accomplishment for kids. With just a few basic materials, children can create their very own Winnie the Pooh decoration to display proudly or give as a thoughtful gift. This craft combines creativity, fine motor skills, and imagination, making it a perfect choice for children of all ages.
By following the simple step-by-step instructions, kids can paint the paper plate yellow, attach the pipe cleaner pieces to create Winnie the Pooh’s iconic features, and personalize the craft with their own creative touch. Whether it’s adding extra details, like glitter or stickers, or incorporating their favorite colors, children will have the opportunity to showcase their individuality and artistic flair.
Celebrating National Winnie the Pooh Day with this paper plate craft is a fantastic way to pay tribute to the beloved bear and engage children in a fun, hands-on activity. The craft not only offers a chance to create lasting childhood memories but also encourages bonding and quality time spent together. As children and adults bond over the crafting process, they can reminisce about their favorite Winnie the Pooh stories, fostering a sense of nostalgia and nostalgia for the classic tales.
| Materials | Steps | Tips |
|---|---|---|
| Yellow paper plate | 1. Paint the paper plate yellow and let it dry. 2. Cut the pipe cleaner into two 1-inch pieces and one 6-inch piece. 3. Attach the pipe cleaner pieces, eyes, nose, eyebrows, mouth, and ears to the paper plate using glue. |
– Use pom poms or felt instead of pipe cleaners for the facial features. – Personalize the craft with additional decorations like glitter, stickers, or ribbons. – Encourage children to express their creativity and make the craft their own. |
| Black pipe cleaner | ||
| Black felt or pom poms | ||
| Styrofoam balls | ||
| Glue | ||
| Yellow paint or marker |
The Winnie the Pooh paper plate craft is not only an enjoyable activity but also a wonderful way to ignite children’s creativity and imagination. It allows them to engage in a hands-on project, practice fine motor skills, and express their artistic abilities. Whether creating this craft for National Winnie the Pooh Day or as a fun afternoon activity, children will delight in the process and take pride in their finished creation.
Additional Paper Plate Craft Ideas
If you enjoyed the Winnie the Pooh paper plate craft, here are some more DIY paper plate craft ideas to explore with your kids:
- Create a colorful paper plate rainbow by cutting out a half-circle shape from the inner rim of a paper plate. Paint each section of the plate in different colors of the rainbow, and then attach cotton balls or tissue paper clouds at each end. Hang the rainbow craft on a wall or door to brighten up any room.
- Transform a paper plate into a friendly sun by painting the outer rim yellow and the inner circle orange. Cut out eyes, a smile, and sun rays from construction paper and glue them onto the plate. Add some yellow streamers or ribbon as sun rays for a fun and whimsical touch.
- Make a festive paper plate tambourine by decorating two paper plates with markers, stickers, or paint. Once dry, place a handful of dried beans, rice, or beads on one plate and carefully staple the two plates together around the edges. Shake the tambourine to create music and rhythm!
- Turn a paper plate into a vibrant flower garden by painting or coloring the plate green and gluing or drawing stems and leaves. Cut out different colored petals from construction paper and attach them to the plate to create beautiful flowers. Display the flower garden on a tabletop or hang it on the wall.
These paper plate craft ideas provide endless opportunities for creativity and imaginative play for kids. They are simple, affordable, and perfect for rainy days, playdates, or craft sessions at home or in the classroom. Let your child’s imagination soar as they explore these fun and easy DIY paper plate crafts!
Explore More Paper Plate Craft Ideas
If you’re looking for even more paper plate craft inspiration, check out these additional ideas:
- Create a paper plate fish with colorful scales and googly eyes.
- Design a paper plate mask of your child’s favorite animal or superhero.
- Make paper plate dinosaurs by painting them green and adding spikes and googly eyes.
- Construct a paper plate spaceship with aluminum foil and colored paper.
Let your child’s imagination run wild with these engaging and entertaining paper plate craft ideas. They provide wonderful opportunities for bonding, learning, and expressing creativity. Enjoy crafting and making lasting memories with your little ones!
| Paper Plate Craft Ideas | Materials Needed |
|---|---|
| Paper Plate Rainbow | Paper plate, paint, cotton balls or tissue paper, glue |
| Friendly Sun | Paper plate, paint, construction paper, glue |
| Paper Plate Tambourine | 2 paper plates, markers or paint, dried beans or rice, stapler |
| Flower Garden | Paper plate, paint or markers, construction paper, glue |
These paper plate craft ideas are versatile, allowing kids to explore different themes, colors, and textures. Gather your crafting supplies and have a blast creating these unique and exciting projects with your little ones!
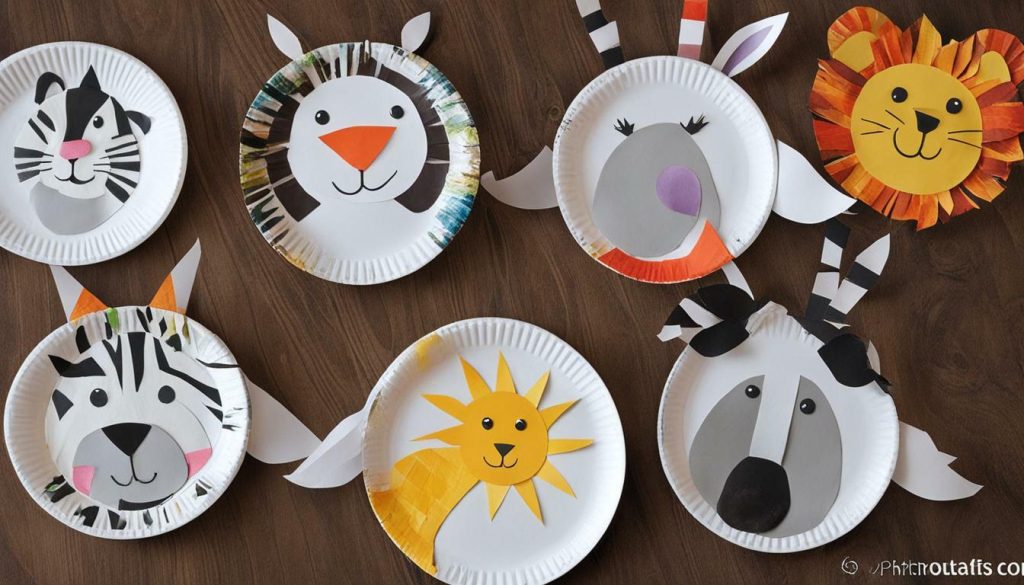
Show off your delightful Winnie the Pooh paper plate craft by finding the perfect spot to display it or sharing it with friends and family. This charming and easy craft is sure to bring a smile to everyone’s face. Here are some creative ways to showcase your creation:
1. Decorate the Walls
Hang your Winnie the Pooh paper plate craft on the wall to add a touch of whimsy and charm to any room. Whether it’s in a child’s bedroom, playroom, or even the living room, this adorable decoration will brighten up any space. You can use colorful ribbons or adhesive strips to secure it firmly in place.
2. Host a Winnie the Pooh Party
If you’re planning a Winnie the Pooh-themed party, your paper plate craft can be a centerpiece of the decorations. Set up a dedicated craft table where kids can create their own Winnie the Pooh paper plate craft to take home as a party favor. It’s a great way to engage children in a fun and creative activity!
3. Share the Love
Spread the joy of your Winnie the Pooh paper plate craft by gifting it to a friend or family member who loves the lovable bear. Wrap it in colorful tissue paper and include a heartfelt note to make it extra special. It’s a thoughtful and unique present that will surely be treasured.
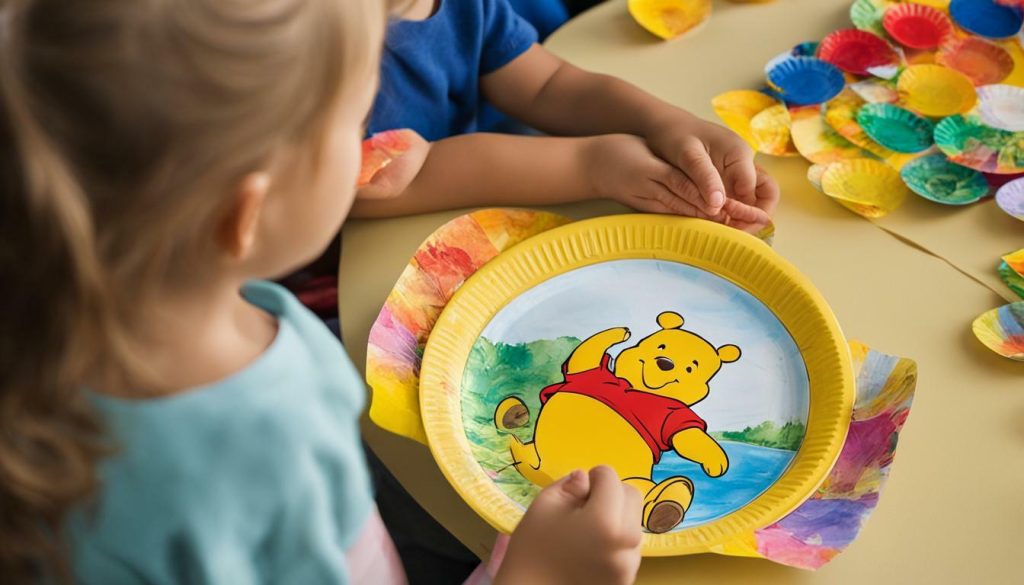
Remember, the possibilities are endless when it comes to sharing your Winnie the Pooh paper plate craft. Let your imagination run wild and find creative ways to bring smiles to the faces of your loved ones. So go ahead, create, display, and share your adorable creation!
Conclusion
Creating a Winnie the Pooh paper plate craft is a fun and easy way to engage children in a creative activity that celebrates one of the most beloved characters in children’s literature. With just a few simple materials like a yellow paper plate, black pipe cleaner, Styrofoam balls, and glue, kids can bring Winnie the Pooh to life and personalize their own adorable decoration.
This craft is perfect for celebrating National Winnie the Pooh Day, a special occasion dedicated to honoring everyone’s favorite bear. By crafting together, children can not only have fun but also create lasting childhood memories, fostering bonding and creativity.
Whether it’s displaying the Winnie the Pooh paper plate craft at home, gifting it to a friend, or showcasing it during a themed party, the joy and pride that comes from creating something unique is priceless. The possibilities to personalize this craft are endless, allowing kids to add their own creative touches and make it truly one-of-a-kind.
So, gather the materials, let the kids unleash their creativity, and enjoy the process of making a Winnie the Pooh paper plate craft. It’s a delightful activity that brings imagination to life and celebrates the timeless charm of Winnie the Pooh.
FAQ
What materials do I need for the Winnie the Pooh paper plate craft?
You will need a yellow paper plate, black pipe cleaner, black felt or pom poms, Styrofoam balls, glue, and yellow paint or marker.
How do I paint the paper plate?
Paint or color the plate yellow and let it dry.
How do I create the facial features of Winnie the Pooh?
Cut the pipe cleaner into two 1-inch pieces and one 6-inch piece for the eyebrows and mouth. Attach the pipe cleaner pieces, eyes, nose, eyebrows, mouth, and ears to the paper plate using glue.
Can I personalize the Winnie the Pooh paper plate craft?
Yes, you can personalize the craft by adding your own creative touches and making it unique.
How can I celebrate National Winnie the Pooh Day with this craft?
This craft is a perfect way to celebrate National Winnie the Pooh Day and honor everyone’s favorite bear.
What are some other paper plate craft ideas?
Check out our additional paper plate craft ideas for more fun and creative crafting adventures.
How can I share my Winnie the Pooh paper plate craft?
You can display it at home, gift it to a friend, or showcase it during a themed party.


